The interactive slides below describe how to use and setup the instruments-only modules, how to set correct (real) instruments size, or fit the instruments to your reduced panel, adjust instruments with misaligned cutouts, etc.

To setup the instrument panel and fit it to your finished hardware panel cutouts, the "setup" mode is used.
Press the [L] key to enter setup mode.
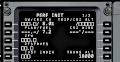
NOTE: Before the panel launch make sure that your screen resolution is set to the monitor's native resolution in your system. For example, if the monitor you'll be using has a resolution of 1600x900 pixels, make sure your operating system has set that resolution correctly.
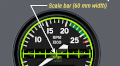
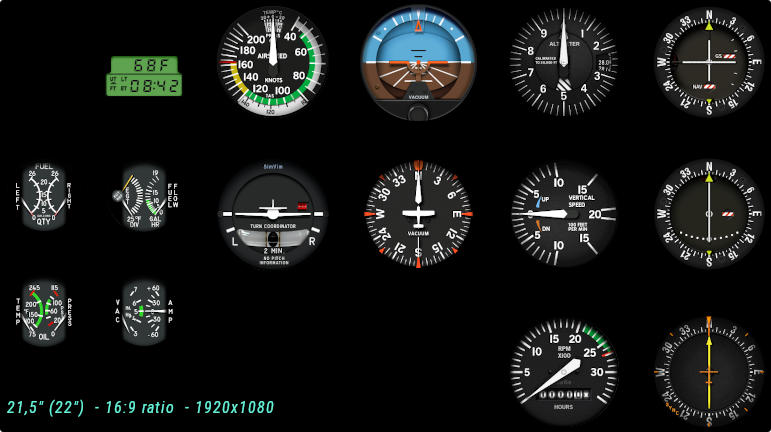
In the setup mode, all instruments are framed by a bright circle or rectangle for easy instrument centering. In addition, a scale bar appeared on the center line of some instruments (usually central ones), allowing you to check the correct scale of the panel using the ruler.
Then, you can use arrow keys to shift the whole panel , the +/- keys to scale the whole instrument panel, or mouse and arrows to move a single instrument to fit its cutout.
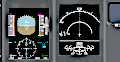
The "[" and "]" keys are used to select required panel configuration when the panel module includes more than one instruments layout. For example, the module may include a main (left) panel, a right panel, radio, ovrhead instruments, other may have EFIS DUs configurations for different LCD.
If the plane module includes more that one configuration, you need too select the layout you need for your LCD display. If the module has a single panel (one layout) you just need to align the instruments with your hardware panel cutouts


Cover Panel with cutouts and bezels
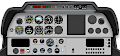
Panel is perfectly aligned and has correct size
Some instrument panels can have several alternative configurations - you can select model/type for one or more instruments on the panel in setup mode by scrolling through the available options, for example you can choose between digital or analog clocks, or you can choose HSI model from 3-4 options available in the panel module.
Enter the setup mode, click and hold the instrument center, when the cross is appeared use "[" and "]" keys to select another instrument if there is alternate option available for it.
1) Panel has correct size but misaligned, need to be aligned. Use the arrow keys to move the whole panel in the setup mode.
- To reset the instrument panel position press the [P] key.


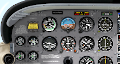
The instrument panel is misaligned
2) Panel is too large (Incorrect display size detection for your monitor) or you have the reduced cutouts (you are building a scaled down cockpit).
Enter the setup mode and use the +/- keys to scale the panel and arrow keys to align instruments with your panel cutouts.


Incorrect display size detection,
or scaled-down hardware panel
3) Some of the instruments are not aligned with your cutouts
Enter the setup mode, click and hold the instrument center, when the cross is appeared use arrow keys to align instrument with its cutouts.
Repeat for other gauges if needed.
- To return all gauges to their default position press [R] key.


NOTE: In this "Instrument selection" mode you can also use "[" and "]" keys to select another instrument if there is alternate option available for it.
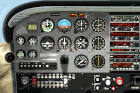
The full panel version includes realistic panel and instrument bezels textures in real sizes, with all control elements, including switches, knobs, and brightness zone overlays.
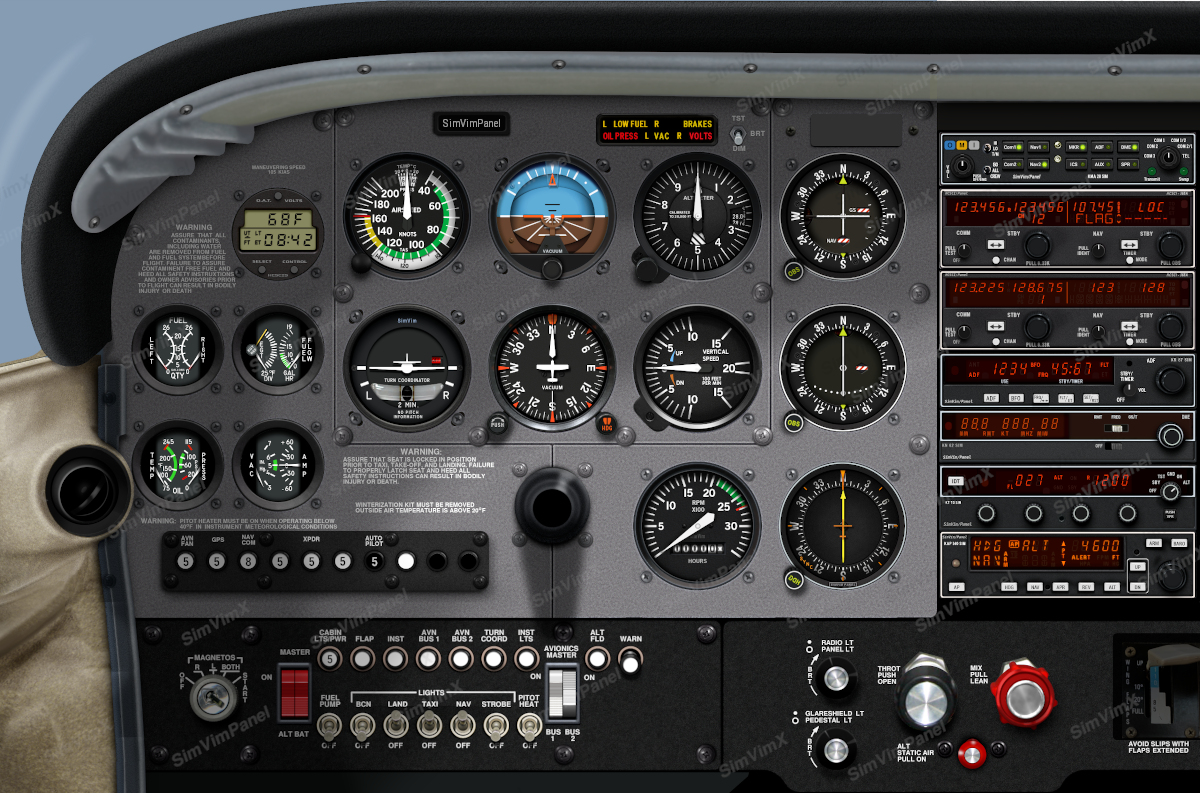
All you need is a monitor of suitable size and resolution connected to any old computer, notebook, mini-PC or Raspberry Pi. All on-screen knobs, buttons and switches can be controlled with a mouse, but at the same time you can assign all needed SimVimX parameters to real switches, encoders and make a simple panel placed below or beside of the monitor or elsewhere.
The full panel scaling and positioning on the screen can be controlled during the flight. You can use either the keyboard ar assigned SimVimX paremeter for scaling and shifting.
If the Module has more that one panel configuration you can select the panel you want using the ...